Pokéball Prop (2015)
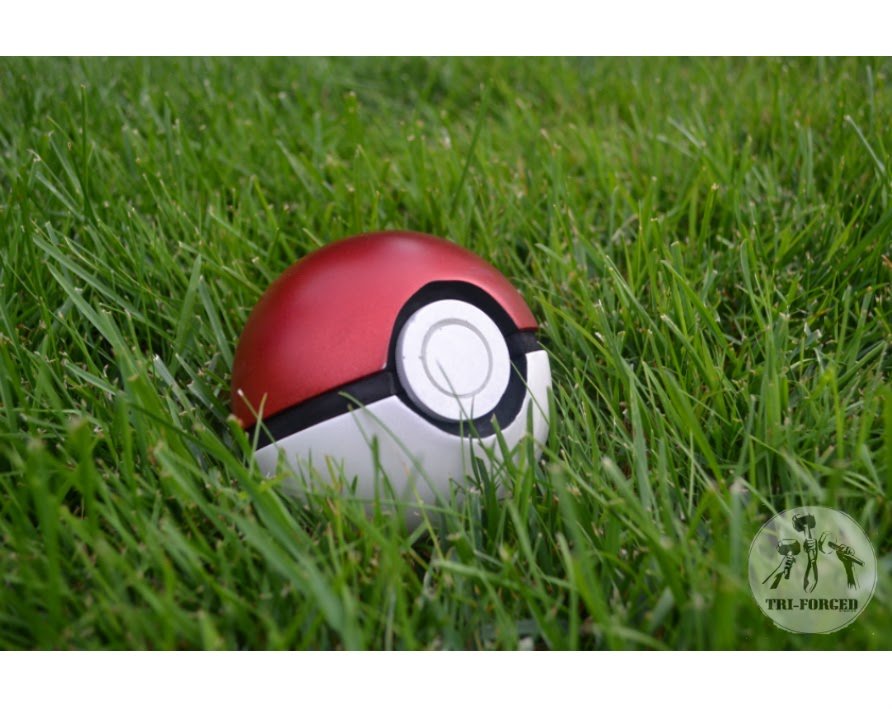
After the first run, our Pokéballs were a huge success so we decided to make a larger batch for next years Toronto Fan Expo and experiment with paints and colors. We used new methods and it was a group effort versus a one man team this time around.
Our Pokéballs are made using Smooth Cast 325, an equal part, high quality casting resin. To blend the previous years progress into this project, we made a "Master" copy of the Pokéball. This would be the original Pokéball part used to be copied to create multiple batches. Every Pokéball will look like this. We used a hollow rubber ball to pour Bondo body filler into and make another make-shift mold and cast.
After many coats of primer, spray-able filler. We dry/wet sanded these using multiple grits of sandpaper starting with 400 going all the way up to 2000 grit.
Using such a high grit sandpaper meant that we could achieve the smoothest possible finish to allow a great coat of paint to shine without any deviations.
After countless sanding sessions, the halves were ready to mold! We hot glued the halves to a clean glass plate and made mold walls. We used thin PETG plastic sheets for the large Pokéball halves and Solo cups for the smaller Pokéball halves.
We took a trip to Sculpture Supply Canada and purchased some Mold Star 30 Silicone rubber. This has a pot life of 45 minutes and a cure time of 6 hours. This gave us a lot of time to mix and pour our material. Since we weren't making many molds, 1 batch was enough for us and the cure time was not an issue.
Smooth Cast 300 comes in two clear liquids, that when they are equally mixed, they will solidify white in times ranging from 5-30 minutes depending on the product.
We poured our casting material into the silicone molds. This material starts off as viscious as water and shortly solidifies.
Our first pull out of our molds! Using a high quality material meant that we got great looking copies. In a few minutes, the halves cool down and are ready to work on!
The halves were coming out very rough at the bottom due to the "lip" of the silicone that got underneath the half and bubbles that rose to the top when curing. This would become an issue when we wanted to glue the halves together.
We purchased a belt sander and sanded the bottoms completely smooth. On one of the ends of the sander is a 90 degree level to make sure we had a perfect level each time!
After many weeks, all of our Pokéball halves were sanded at the bottom and top and were ready for paint!
I took all of the parts of the Pokéball and attached them together to give me a quick glance at the progress so far.
To keep the Pokéball halves off the ground and away from dirt, I constructed painting stands for the Pokeballs to stand on. This was made with scrap 2x4 wood and 2 inch PVC piping. This gave the Pokeballs enough room to be painted at the top at different angles and underneath.
After a coat of white primer, the halves are painted with a metallic aluminum paint. This will act as the base coat for the red lacquer paint.
A coat of shiny red lacquer paint was applied on top of the silver base coat. Each half has about 2-3 coats of each colour.
A thick coat of clear coat was applied to the halves to protect the paint job from damaged but also give it a nice shiny look.
The bottom halves of the Pokéballs were painted with different coats of paint. This shows the different between a plain cast and a final painted bottom half.


