
Majora's Mask Full Wearable Version (2017)
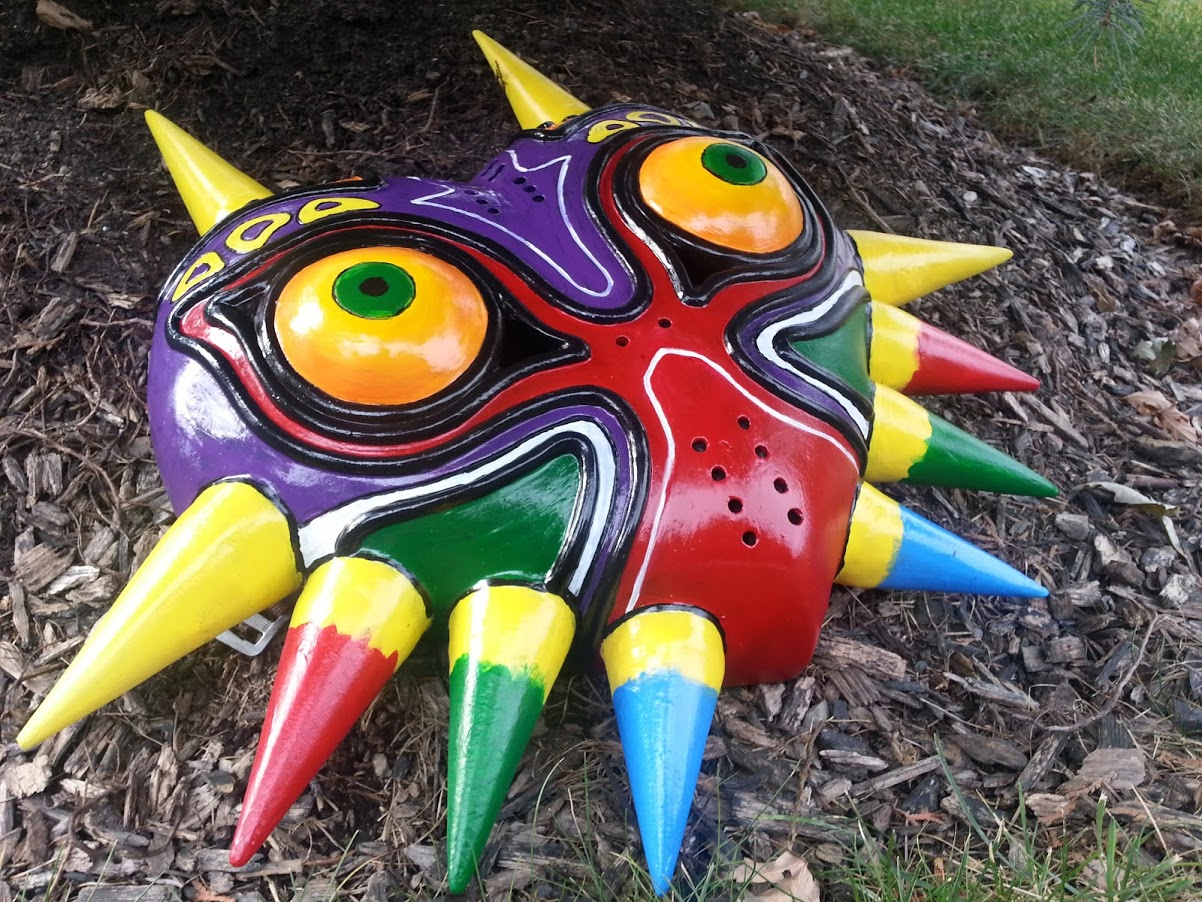
Pepakura file built using 110 lb card stock. Physical 3D details will be added later with Apoxie Sculpt.
Bondo
Luis applying the first layer of Bondo body filler. Safety first!
Sanding the eyes.We actually used our old Pokeball casts to get these perfectly round and smooth!
Sand First + Sand later
Horns solid. We sand the mask down to find all the problem areas then apply more Bondo.
Scaling
After some sanding, we check the scale. Looks good.
Eye Sizing
Eye placement to see what we can expect. These will be apoxied on closer to the finish.
Finer sanding
Alannah sanding the mask down using Bondo spot filler and a finer sandpaper.
More Bondo!
Alannah applying Bondo to the inside of the mask to add strength for the molding process.
Interior shaping
We glued paper walls to the inside of the mask and filled the space with Bondo to create thick walls. We were planning on casting the inside originally.
Off with the horns!
Alannah using the scroll saw to cut the horns off the mask. We got a suggestion to cut these off for an easier molding experience.
More Bondo
Luis mixing up more Bondo to fill some areas.
templates Drawn on
We used templates from the Pepakura file to draw the designs on the mask. Some details are carved using a sanding file.
Apoxie Sculpt Applied
Apoxie Sculpt is a wonderful material that air dries and hardens to a rock in 24 hours. It can also be smoothened with water.
Primer Applied
Mask sanded and a bright blue primer was sprayed on. Bright paints allow us to see problem areas and find any imperfections.
Eyes carved
Final details are carved into the mask with a sanding file. Almost done the master!
Final major sanding
Entire mask was sanded down to 2000 grit. It is completely smooth.
Top side
Top of the mask primered. Right before I sprayed the gloss coat.
molding starts!
I hot glued the mask to a piece of smooth glass to get a smoother mold surface. Now filling the seams between the glass and the mask with an oil based clay.
Print Layer
Print layer applied. This layer is supposed to be very thin to make sure to capture all details and eliminate air bubbles on the surface.
Silicone applied
Silicone applied layer by layer by brush
Fiberglass
Mask coated with Fiberglass Resin to strengthen it. This gives the mask stability to be able to be fiber glassed and Bondo'd.
First layer being applied to the face of the mask. Now it's looking like a cake.
There is always more Bondo needing to be added. Many uneven surfaces.
More Sanding!
Luis sanding the mask using a mouse sander. Sanding is definitely the most time consuming part of the project.
Did you say Bondo?
It's looking more uniform but there is still lots of work to get done!
Sanding & Sanding
Getting smoother with each layer. We have been sanding this with 400 to 2000 grit sandpaper to get it very smooth.
Spot Putty
Spot putty from Bondo is used to fill small pin hole sized holes and to do final sanding layers.
Behind the mask
Bondo added to the walls first and then the bottom is covered to allow a smoother finish.
Rondo Layer
We used a combination of Bondo body filler and Fiberglass resin in a 70/30 mix to create an easier to work with Bondo that can be slushed around.
Majora's Heart
Horns cut off! More sanding next. We will also be filling in void spaces with Bondo and get a better base for the horns.
Horns have holes
Luis using Bondo to fill holes for the base of the horns to fit while casting.
Apoxie Sculpt
Alannah following the guides and applying Apoxie Sculpt out of the clay extruder to get a perfect round surface.
More spot Putty!
Alannah applying spot putty on the edges of the apoxie sculpt and other areas.
More Spot putty!
More details carved in, breathing holes drilled and spot putty applied on the base of the horns and other areas.
Final spot putty layer
Before I spray the final coat of paint before molding, I did an entire layer of spot putty to be able to sand everything down to a gloss smoothness.
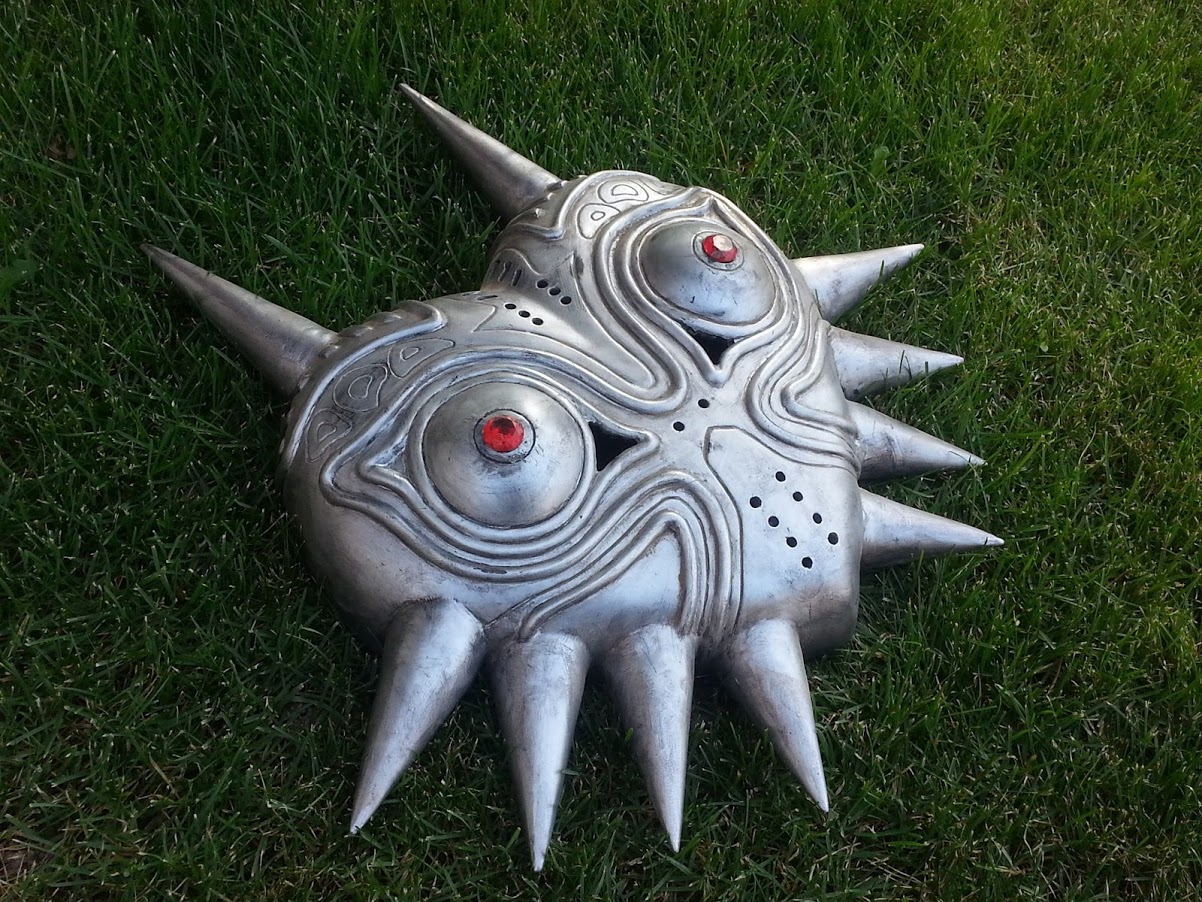
Primer coat
I sprayed the mask with a white/gray primer paint.
Final gloss coat
Final coat of gloss spray paint. Spraying it in gloss will allow casts to come out smoother than normal.
Clay seams
Clay was applied to the seams to prevent the molding silicone to pour on the inside and ultimately wasting product. This also raises the height of the cast so there is room to sand the edges down.
Thicker layer applied
After a few print layers, the silicone starts to build up and you can do thicker layers.
Mother Shell Box Built
Once enough silicone is applied, a box is made to keep the shell from pouring out.